
5 STEPS to Organize a Utility Closet
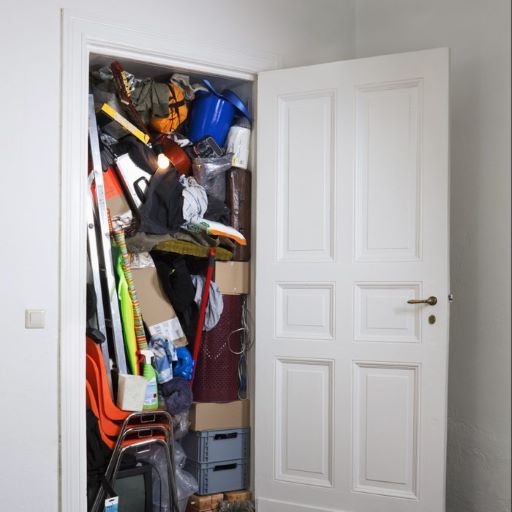
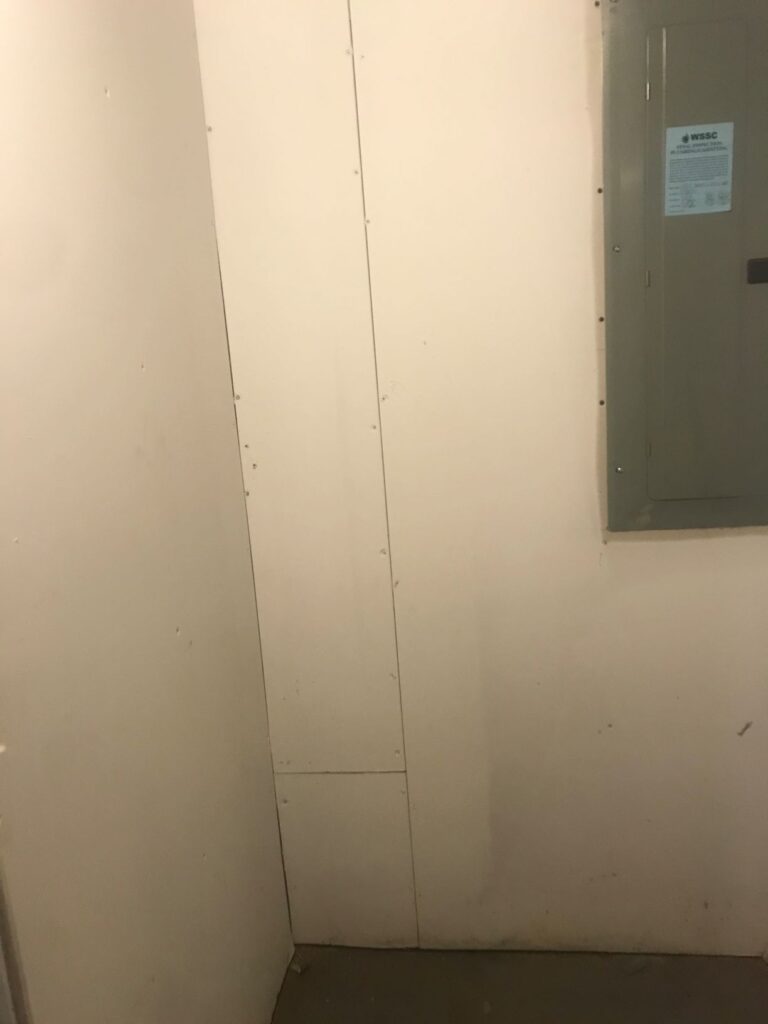
Having a utility closet in one’s living space is a plus. Most utility closets are generally a small dark space in a corner, or the basement shared by a hot water heater, furnace and fuse box. As a homeowner, it’s almost a must to have designated space where you can store tools, cleaning supplies and minor household items (batteries, flashlight, mop, vacuum, etc.). As with that one drawer in the kitchen that becomes a “catch all” for all the things you want to keep and nowhere to put them, is the same for a utility closet. Before you know it, your utility closet has become a walk-in Junk Drawer, filled with essential household items, but more often things you don’t want to get rid of because you’re convinced, you’ll use or need it someday. I visit my utility closet weekly, and I found myself, promising myself, that I was going to straighten out the closet. One Friday evening, I paid a visit to my utility closet to locate a cable cord, soon to realize I had to move around at least 2 boxes and step over several cans of paint to find the cord. Those boxes were heavy! I was so frustrated that I couldn’t find anything right away and that I didn’t have a clear walking path from one side of the closet to the other. There were boxes stacked on top of one another. Cleaning supplies and paint scattered around on the floor. And those annoying boxes of left-over screws, tools, and furniture pieces from DIY projects stored in every corner. I took one good look around and decided right then and there it was time to organize my utility closet, asap! I needed to do more than just “straighten” up the closet. I needed to create a practical system for storing and maintaining regularly used items so that I could organize the closet and keep it that way.
Most people have heard of or seen the organizational gurus of The Home Edit. Clea and Joanna have shared with the world their stylish, design-centric approach to home organization. They go all out turning a junky, unorganized space, into a visually appealing, functionally organized space that’s also easy to maintain. I put their key tips into practice and did a little Home Edit of my own. Below are the steps I took to go from the before and after Utility Closet Makeover.
STEP 1: Clear it Out
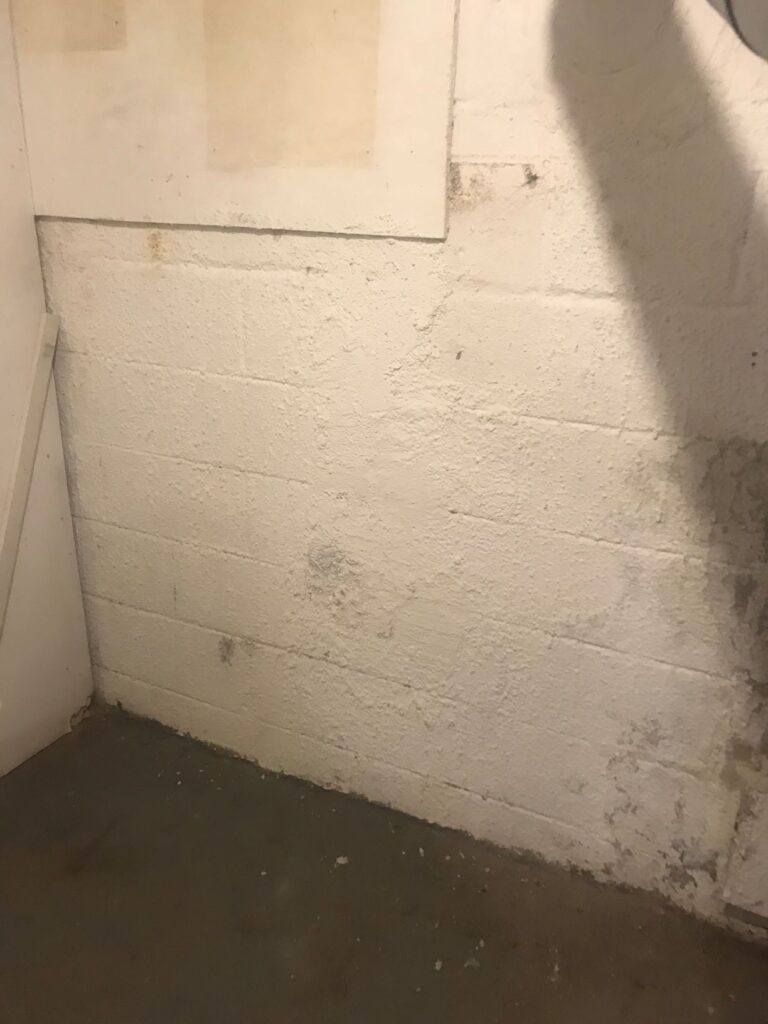
Remove every single last item from the space and set it aside. I didn’t look at anything, analyze it, or have any feelings about what I was removing. I just set that stuff aside until the closet space was clear. Do not try to organize without pulling every single thing out. Trust me, if you try, things will start to go wrong, you’ll get frustrated, tired and call it quits. After the clear out, I dusted, swept, cleaned and deodorized the entire floor and wall surface. Clearing out doesn’t always mean throwing away. It might mean relocating it to a space that makes more sense.
STEP 2: Declutter
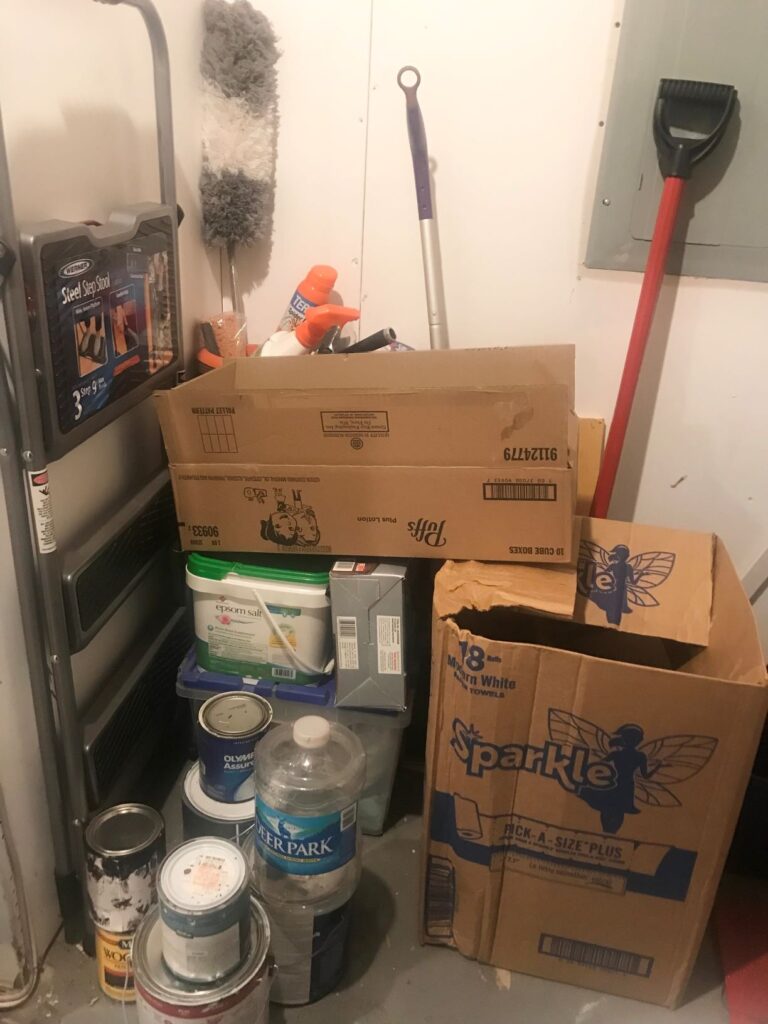
Sort all the items into piles of similar items making it extremely easy to throw out anything you don’t need. Well, how do you know what you need and don’t need? Isn’t that what got us here in the first place? Well, yes. But this time, you’re going to purge! Create mini piles of “trash” and “donate”. Look for expired supplies, almost empty bottles and containers, corroding batteries, broken anything, that shelf you’re never going to put up, and just plain ole simple trash. Take everything out of boxes and break them down for recycling. You want to be able to see everything laid in front of you. Guess what? The hard part is over.


STEP 3: Categorize

Once you’ve gotten rid of the items you no longer need, the next step is to categorize everything. Yes everything, down to that little pack of screws you have no idea where they belong. Begin to group items into specific categories such as, cleaners: floor, carpet, bathroom, and kitchen; paper products – tissue, toilet paper, towels; safety supplies: batteries, flashlight, light bulbs, surge protectors, and cords. You get my drift.
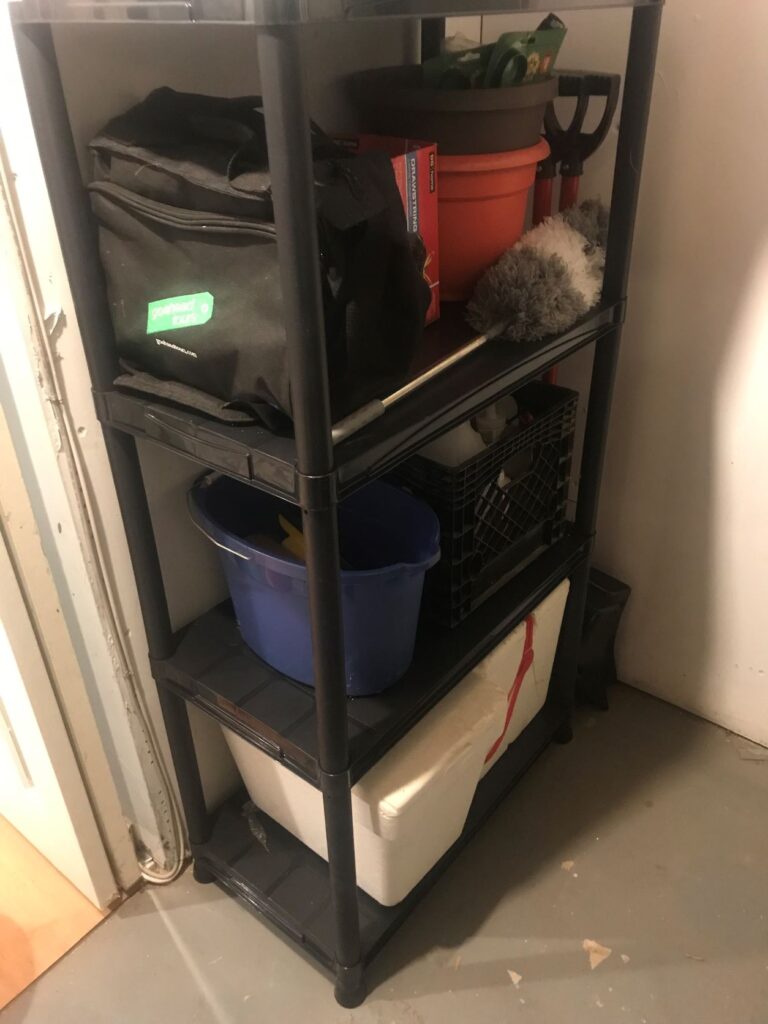
STEP 4: Containment
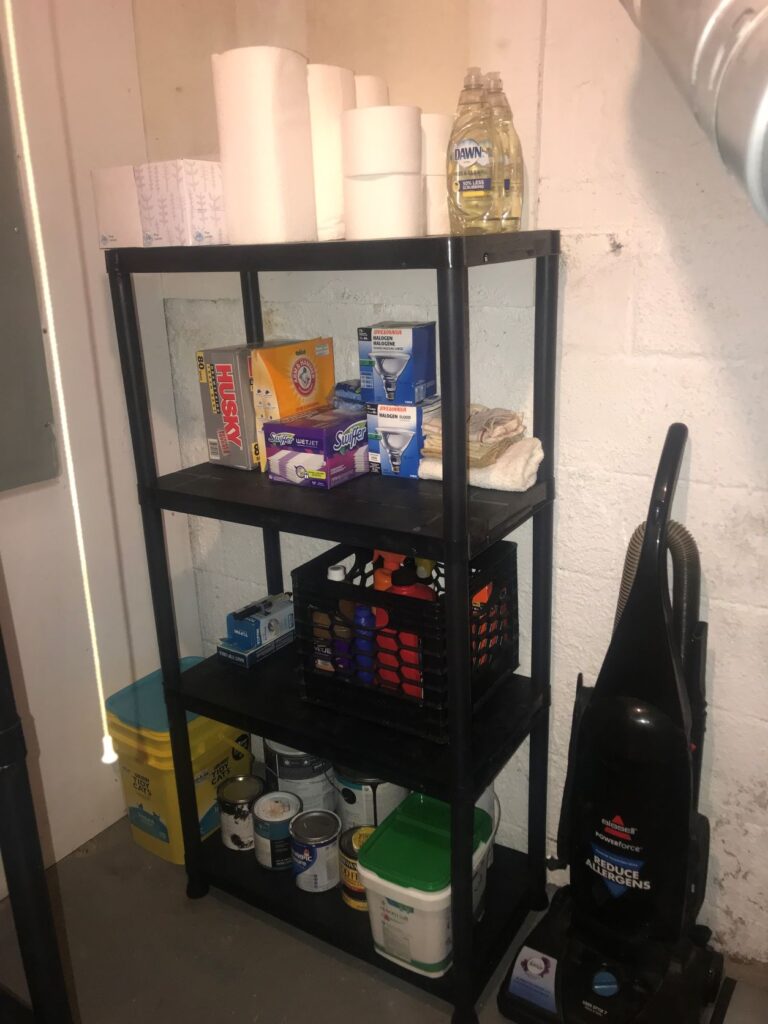
Containing items can make or break the functionality of a space. I wanted to start small and set up a system that was logical, visually appealing, and most of all organized. My first choice was to invest in storage racks. I measured the wall width and height to ensure I purchased racks that would fit comfortably in the small closet. I came across these heavy-duty racks at Home Depot and purchased two.
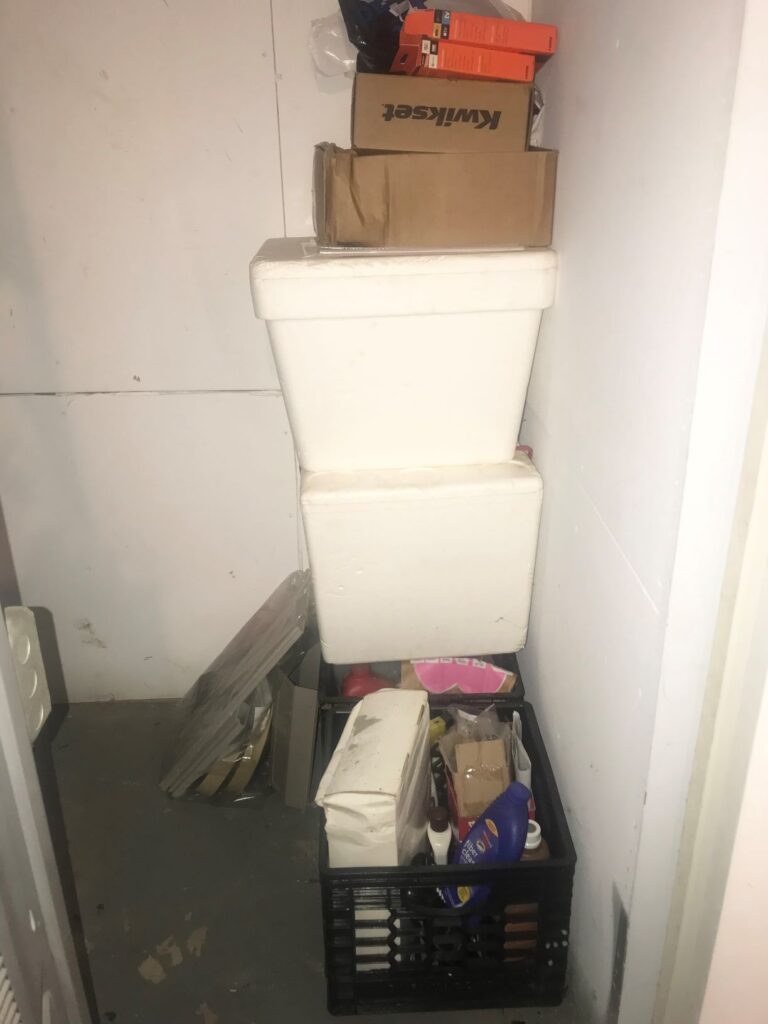
After everything is sorted into categories, put the like items together. With these shelves, it gives everything an actual home rather than free floating on the floor or stacked in a corner. I prefer to use crates for larger items such as cleansers and sprays. I plan to invest in clear, stackable containers to further organize my closet items. I can now see everything. Believe it or not, containment keeps you from buying or having too much of one thing.
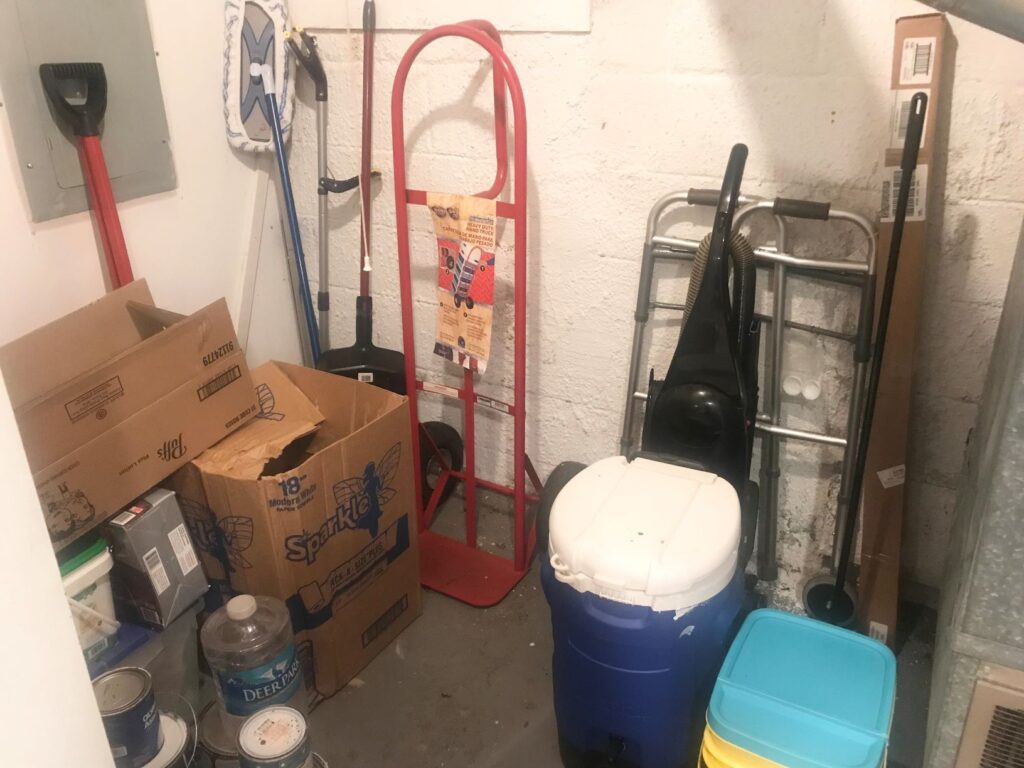
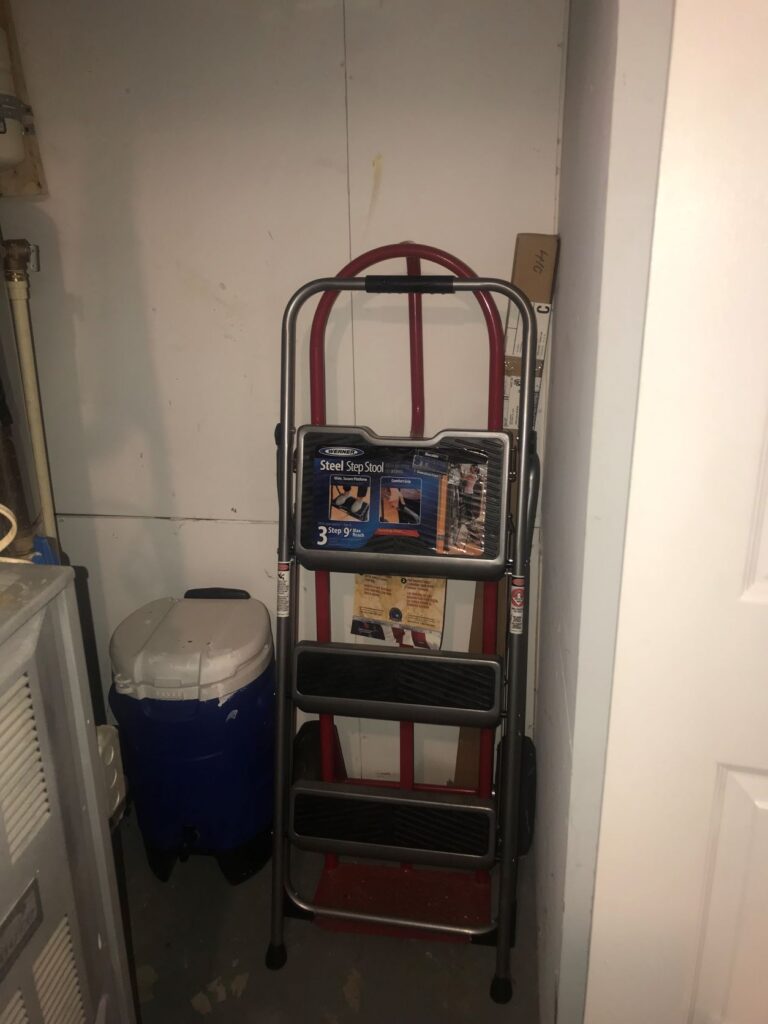
Lastly, remaining was a cooler, pully and step ladder that I stored on the other side of the closet. Out of the way and accessible when needed.
STEP 5: Focus on HOW the Room is Used, Not WHAT the Room Is
This article is focused on the Utility Closet. Yes, that’s exactly what it is, but it can also be a “back stock” room. Like many of us, I buy in bulk. Household supplies are less expensive the more you buy of one single item. It’s impossible to store all 20 rolls of tissue under the bathroom sink or linen closet, so I use the “back stock” room to replenish what’s running low around the house. Here you will find bottles of dish detergent, paper towels, light bulbs, batteries, plug ins, air freshener, and many more everyday items. Thinking of ways, a room operates beyond its central purpose creates much more opportunity for organization. My space now makes sense. It’s more functional. I know exactly what goes on each shelf and positioned items by most importance, so that I can reach for them easily while maintaining their organization. This project is not fully complete as I want to incorporate more storage supplies and containers. This is just the beginning of what I want my “back stock” room to look like at all times.

Great ideas. Amazing the before and after. Focus on what you want your room to look like. The steps are a double plus and so useful. Thank you so much.